Now Reading: How to Screen Record on Iphone
-
01
How to Screen Record on Iphone
Have you ever wanted to share your iPhone screen with friends, record a tutorial, or save an important moment from an app? The good news is that screen recording on iPhone is quick, easy, and requires no extra apps. Apple has a built-in screen recording feature on iPhone and iPad, so you don’t need to download any third-party screen recorder.
In this guide, we’ll walk you through how to enable screen recording, record your screen with or without sound, and where to find your saved videos. Let’s get started!
Why Screen Recording is Useful
Screen recording is one of the most underrated features on an iPhone. Here are some popular uses:
-
Create tutorials: Show someone how to use an app or adjust settings.
-
Capture gameplay: Record your gaming sessions to share with friends or upload online.
-
Save social media stories: Want to keep an Instagram or Snapchat story? Record it before it disappears.
-
Demonstrate a bug: Show tech support exactly what issue you’re facing.
The best part? You can even add voice narration to explain what’s happening on your screen.
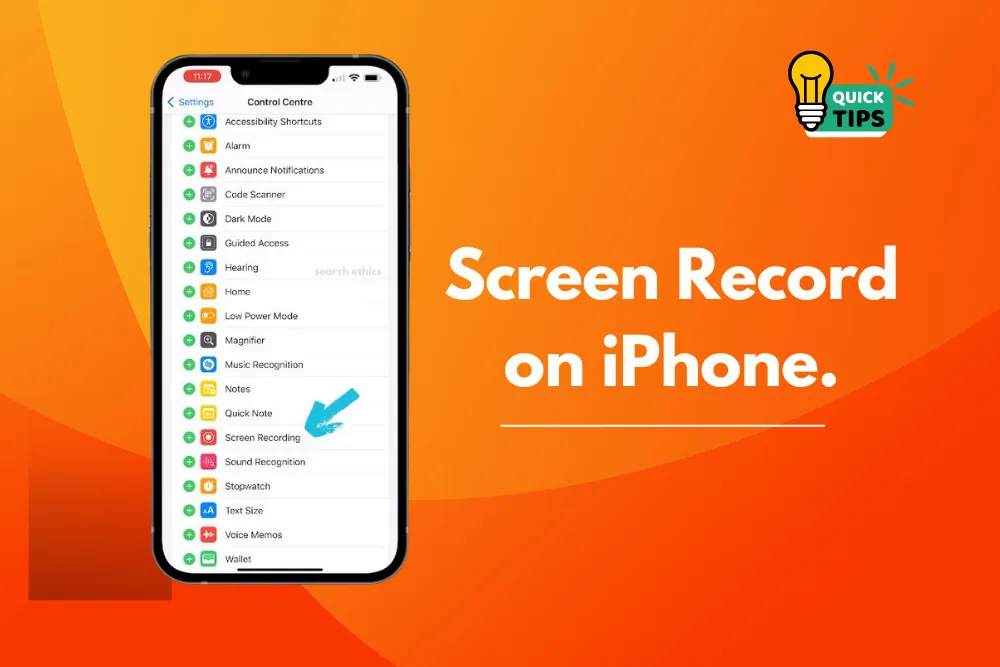
Step 1: Enable Screen Recording in Control Centre
Before you can record your screen, you need to make sure the feature is enabled in your Control Center. Here’s how:
-
Open Settings on your iPhone or iPad.
-
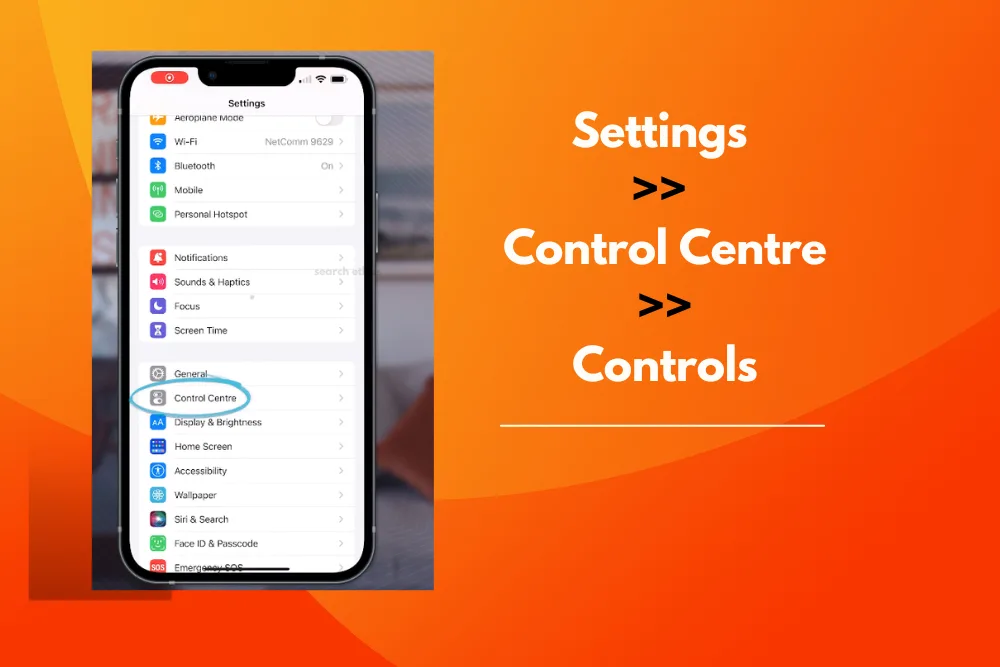
Scroll down and tap Control Centre.
-
Under More Controls, look for Screen Recording.
-
Tap the green + icon next to Screen Recording. This adds it to your Included Controls section.
Now, you can access screen recording anytime from your Control Centre.
Step 2: Start Screen Recording
Once Screen Recording is in your Control Centre, you can start recording your screen:
-
Swipe down from the top-right corner of your screen to open Control Center (on iPhone X or later).
On older iPhones (with a Home button), swipe up from the bottom of the screen.
-
Find the recording icon (a grey circle with a dot inside).
-
Tap it once. A 3-second countdown will appear, giving you time to prepare.
-
Your iPhone is now recording everything on the screen!
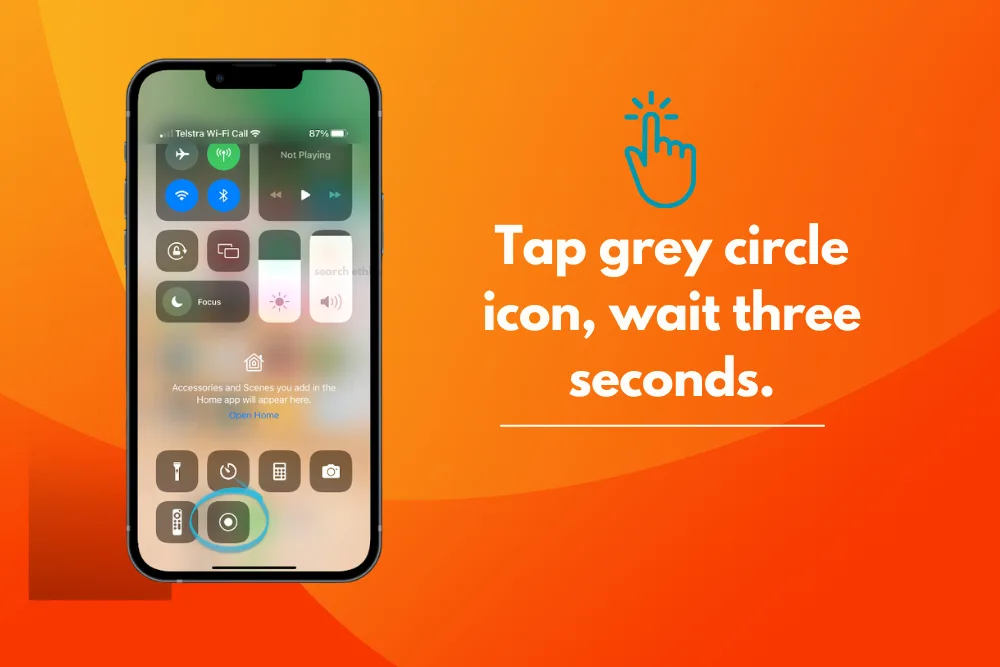
You’ll see a red status bar or a red icon at the top of your screen, indicating that the recording is in progress.
Step 3: Stop Screen Recording
When you’re done:
-
Open Control Centre and tap the red recording button again, OR
-
Tap the red status bar (at the top of your screen) and confirm Stop.
The video will automatically save to your Photos app, where you can edit, trim, or share it.
How to Record Screen with Audio (Voiceover)
Want to explain what’s happening while recording? You can easily add your voice:
-
Long-press (or hard-press) the Screen Recording button in Control Center.
-
A new menu will appear. Tap the Microphone On icon at the bottom.
-
Tap Start Recording.
Now, your voice will be recorded along with the screen video—perfect for tutorials or app demos.
Where to Find Your Screen Recordings
After stopping the recording, your video is automatically saved to Photos. Open the Photos app, and you’ll find your screen recording under Recents or Albums > Screen Recordings.
From here, you can:
-
Trim the video: Remove unwanted parts from the start or end.
-
Share it: Send it via email, AirDrop, or upload to social media.
-
Edit with apps: Add annotations, music, or transitions if needed.
Pro Tips for Better Screen Recordings
-
Enable Do Not Disturb before recording to avoid notifications appearing in your video.
-
Clear your screen of personal data or distracting apps for a clean recording.
-
Use landscape mode for apps like games or videos for a better viewing experience.
-
If you need advanced editing, use apps like iMovie or CapCut after recording.
Final Thoughts
Screen recording on an iPhone is one of the most useful features for sharing information, creating tutorials, or saving special moments. Since this feature is built-in, you don’t need any third-party apps, just enable it in your Control Centre and start recording!
Now that you know how to screen record on iPhone quickly and easily, you can create tutorials, capture gameplay, or share tips with friends.
For more tech tips and tutorials, visit Search Ethics by following us.

Dony Garvasis is the founder of Search Ethics, a freelance SEO consultant, and a passionate technology blogger. With over 8 years of experience in SEO, blogging and content marketing, I provide expert content on Tech, digital marketing, SEO, Artificial intelligence, gadgets, science, automobiles, lifestyle, tips, tutorials and much more. My mission is simple: Ethical Search, Genuine Results! I will make sure people everywhere get trustworthy and helpful information.